BCI Buddy: An educational BCI Kit
A hands-on neurotechnology kit designed to teach children the fundamentals of brain-computer interfaces.
Check out bci-buddy.com
Where it all started
While I was co-president of UC San Diego’s neurotech club, Triton NeuroTech, I found myself trying to explain BCIs and neurotech to a sixth grader. I ended up comparing brain-computer interfaces to LEGO Spike robotics, and something clicked. He immediately started asking insightful questions.
That moment stuck with me. Kids are deeply curious about technologies like BCIs and AI—but they often don’t have the tools to explore them in a way that makes sense. That’s when the idea for BCI Buddy was born: an educational neurotech kit that teaches these complex topics the same way robotics kits do—by doing.
Starting with an armband
Since many of my previous projects involved EMG armbands, we decided to start there. The initial concept was a sleek, fully-integrated band—something like a neurotech smartwatch with built-in electrodes.
But as we tested early prototypes, we realized something: this kind of design didn’t invite curiosity or exploration. We wanted something that taught how signals are collected—through play. So we shifted toward a modular design that lets kids interact with each part of the system hands-on.
Iterating on the armband
We started prototyping with TPU, a flexible 3D-printable material, and slowly transitioned to silicone.
Here’s how the design evolved over time:
- V1: Bulky, rigid, and fully 3D printed
- V2: Slimmer, easier to wear
- V3: Longer band for improved fit
- V4: Snap-based system inspired by Snap Circuits
- V5: Current design — silicone band with modular “widget” slots
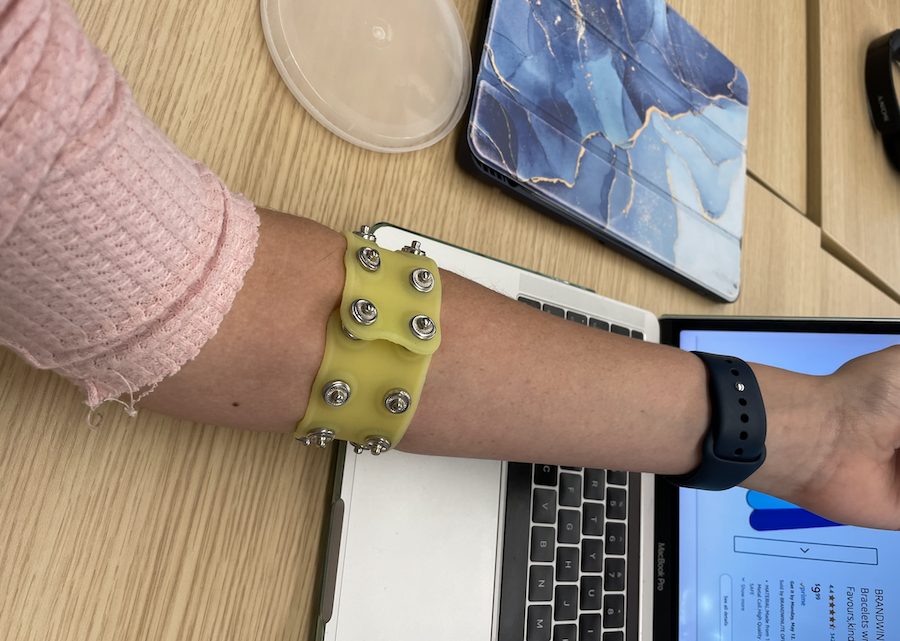
V0 – First functional band

Since we needed something. to test. with, our. first functional band was a. piece of KT tape with velcro on either side attached to. penny electrodes. This was adapted from our previous designs with EMG External Prosthetic Arm, EMG-Controlled Mouse (aka aeromus), and Zinc-Based Wearable Electrodes
V1 – The very first prototype
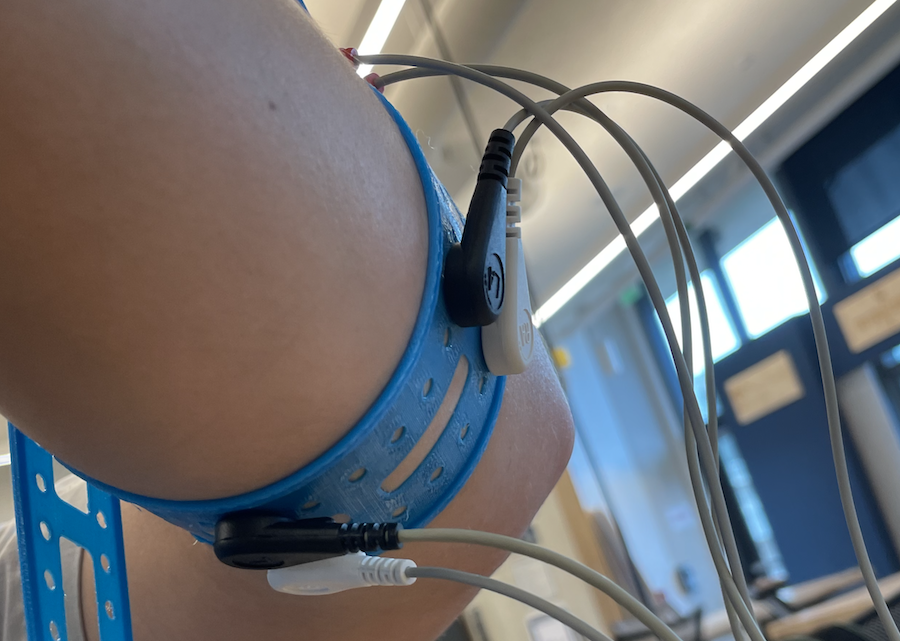
The first armband was a fully 3D-printed piece made from TPU. It was thick, boxy, and designed more for proof-of-concept than for wearability. Electrodes were either embedded or attached externally. At this stage, we were focused on testing basic electrode placement and signal collection, not comfort or aesthetics. It was exciting to get something physical out into the world—but immediately clear we needed to rethink usability.
V2 – Thinner and more wearable

We reduced the thickness to make the band easier to wear and less intimidating. This version started to resemble something a child could actually put on, though it still lacked flexibility and looked more like a medical device than a toy or learning tool. It was a good step forward for wearability, but still not something you’d want to use in a classroom setting. It was also a little short for some of our team members, requiring two bands for proper fit (see image below).
V3 – Longer version for better fit
To accommodate a wider range of arm sizes (especially for older kids and adults), we extended the band length. This solved a lot of practical issues but also made us rethink how kids interact with the band—should it be adjustable? Stretchy? These questions helped guide future iterations toward modularity and customization rather than a one-size-fits-all approach.
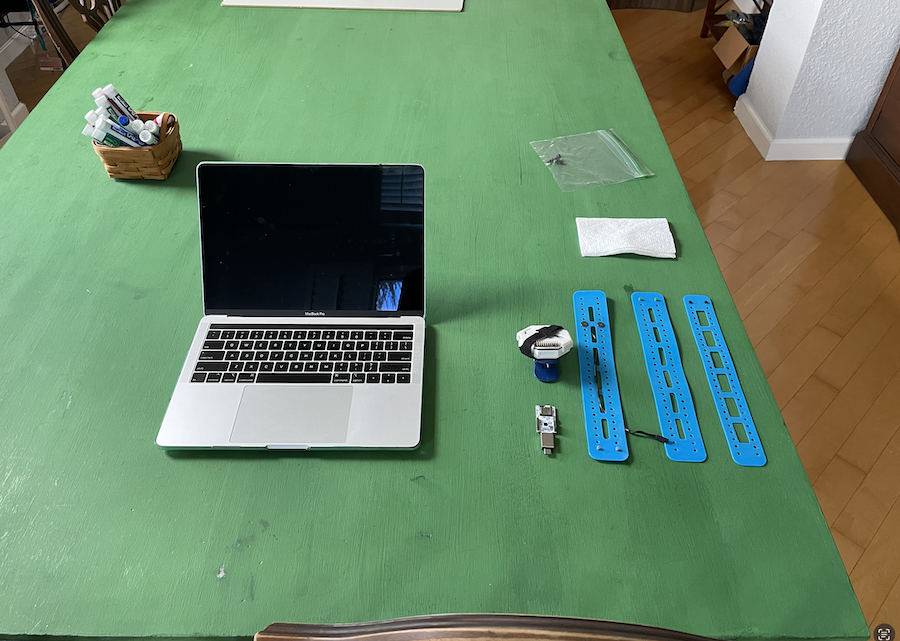
This image shows the three TPU iterations side by side.
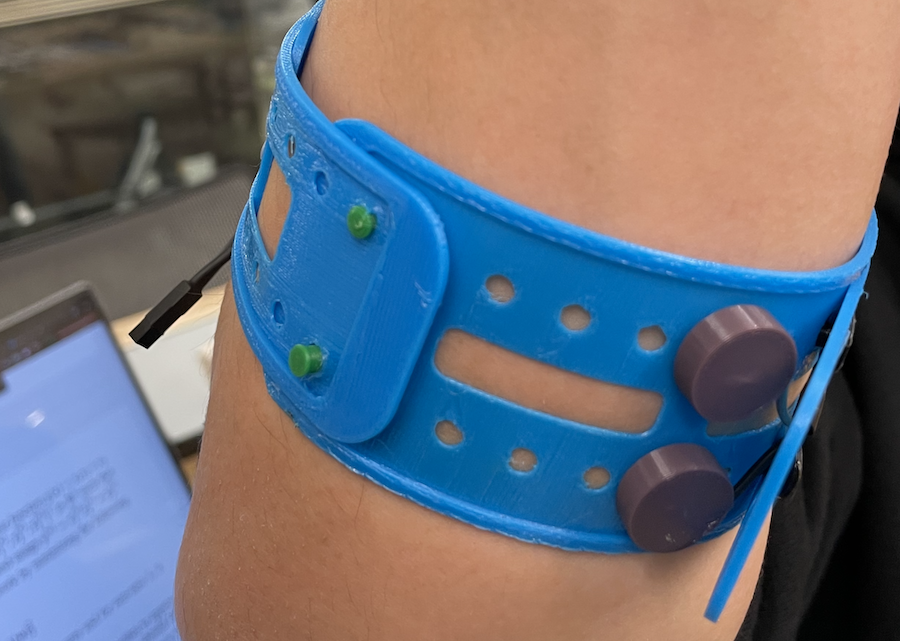
V4 – Snap-based version inspired by Snap Circuits
This was one of our most playful and ambitious designs. We molded the band out of silicone and added embedded snaps, inspired by the Snap Circuits kits many of us grew up with. The idea was for kids to physically “build” the signal chain by snapping components into place. It was super fun in concept but turned out to be bulky, awkward on the arm, and not as durable as we hoped. Still, it introduced the idea of interactive modules, which became central to our final design.
Here you can see the outside of the band which housed the male side of the snaps allowing for connection to snap wires.
Here you can see the inside of the band. This side contains the female side of the snaps intended for either direct use or use with standard snap-based electrodes like Ag/AgCl for better signal quality.
Both sides of the snaps were soldered together using stainless-steel flux to allow for proper conduction.
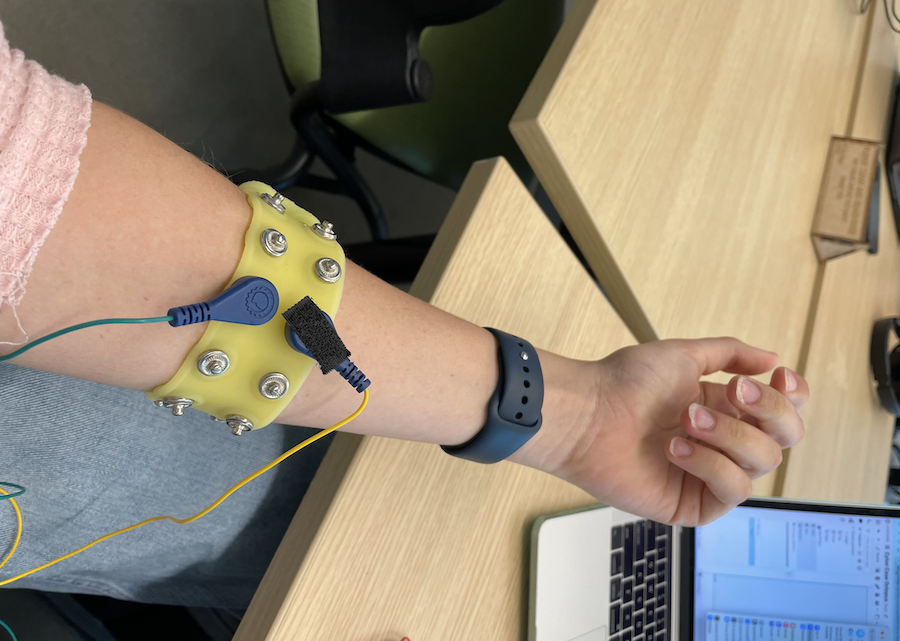
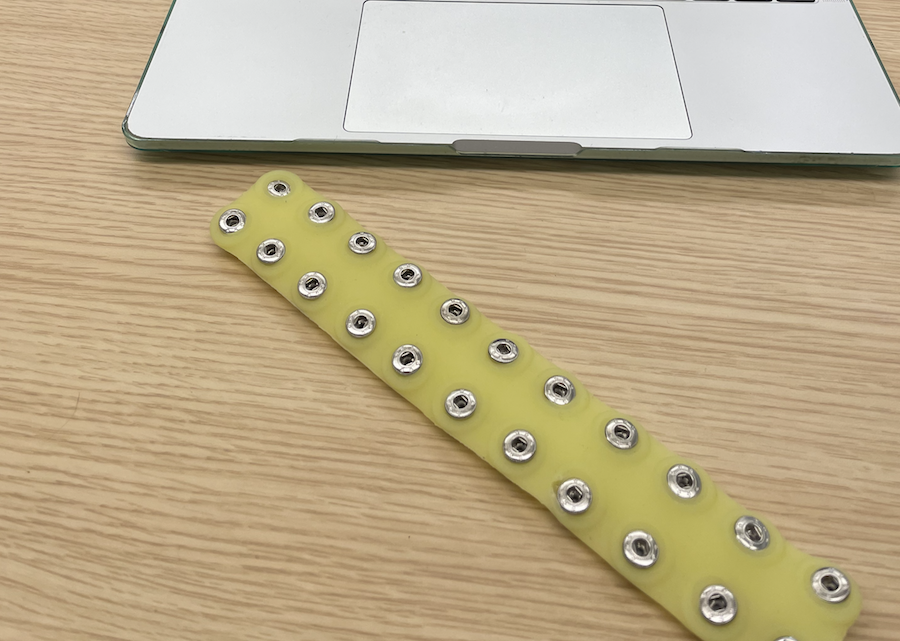
V5 – Current modular silicone design with “widget” slots
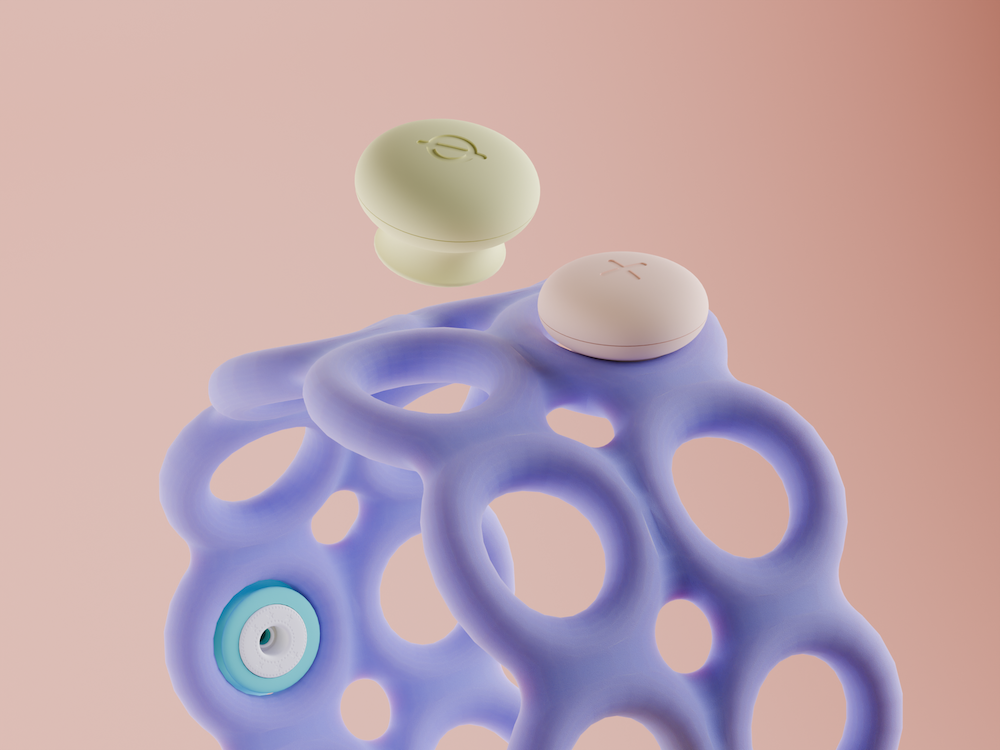
We took what worked from the Snap version and simplified it. Instead of placing snaps everywhere, we created hourglass-shaped slots where kids can “pop in” interchangeable widgets—modules that represent parts of a BCI system like the electrode, reference, or amplifier. This approach is much more comfortable, better-looking, and easier to manufacture. It also allows us to selectively add complexity based on a learner’s level. This is the version we’ve been testing in classrooms and workshops, and it feels like a huge step toward making neurotech something kids can truly engage with.
The software
The software side went through just as many iterations.
We started with our own basic data flow language—a custom JavaScript frontend with draggable blocks and a Python backend built around threaded connections between signal-processing modules.
But this approach was slow to build and hard to maintain.
After researching existing solutions, we looked at Scratch, which already supported a lot of what we wanted. However, its massive React codebase made it hard to adapt. So we turned to Blockly, the visual programming foundation that Scratch is built on.
We created a custom Blockly environment that allows kids to:
- Connect to an OpenBCI Cyton
- Stream and process data using LSL
- Visualize and interact with signals in a kid-friendly, intuitive way
After demoing our prototype and digging deeper into existing platforms, we discovered MyoWare and MakeCode—two incredible tools that align with our educational mission.
Next steps:
We’re now building a signal processing toolbox on top of MakeCode to work with MyoWare and eventually support our own custom hardware.
Our own PCB
(More details coming soon!)
We’re in the process of designing custom PCBs that can collect and transmit EMG signals while integrating seamlessly with our modular kit and software tools.
Random successes 🎉
- Accepted into the UC San Diego Blackstone LaunchPad program
- 3rd place in The Basement at UC San Diego’s annual pitch competition
Future plans
- 2 workshops scheduled with middle school students this summer
- Full MakeCode integration with our own signal processing blocks
- Future goal: connect our custom EMG hardware directly to MakeCode